My girlfriend and I are huge Portal fans and one day I thought to myself; „You know what would really fit to our Portal Gun? A test chamber sign“.
We thought about buying a poster somewhere, but one day my girlfriend found this: http://www.instructables.com/id/Portal-Test-Chamber-Information-Sign/
We were pretty impressed and started researching. We came across this build: http://www.telnets.org/articles/portalrm-article04.php
He didn’t outright link to the aforementioned build, but he stated that he got inspired by some other build. So we evaluated both and developed a plan which was a mixture of them with some changes made by ourselves.
We went to our local hardware stores and started to look for a fitting panel. It had to be in a 1:2 ratio, because we didn’t want to cut it. Eventually we found a 0.5m x 1m white plexiglass panel which was perfect. Along with that we also bought a wooden back panel with the same dimensions and two wooden boards (10cm x 1.75cm x 2.5m) for the frame.
For the big numbers and stripes we bought some sticky vinyl tape to cut them out, but we knew we couldn’t get the icons right, so we ordered printable sticky foil. The Aperture Laboratories Logo is from http://www.brandsoftheworld.com/logo/aperture-laboratories-1?original=1 and the icons are from http://zeptozephyr.deviantart.com/art/Vectored-Portal-Icons-207347804.
With all materials gathered I started by booting up Portal 1 and taking screenshots of a test chamber sign. We decided to use test chamber 11 not only because a „1“ is pretty easy to cut out, but also the fact that test chamber 11 is the level the player gets the portal gun upgrade to shoot both portals.

With the screenshot I opened Illustrator and very carefully and accurately recreated the test chamber as a vector image. For the icons I used the vector graphics linked above and for the fonts I used the ones this guy (http://www.telnets.org/articles/portalrm-article04.php) was kind enough to post.

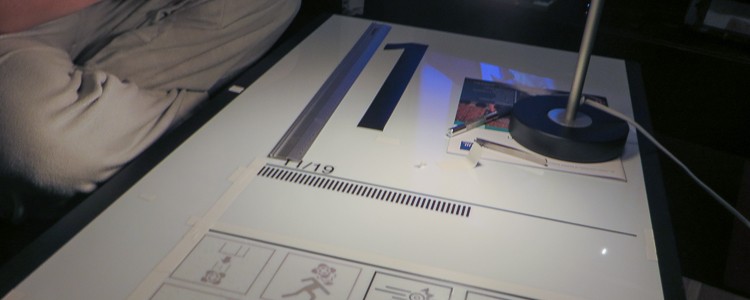
I chopped the finished image into printable parts and noted all the relevant x and y coordinates. We cut out the printed icons with a precision knife and a metal ruler and my girlfriend cut out the two „1“s (because she has the better eye and more concentration with that kind of stuff).


Once everything was cut out, we laid it onto the plexiglass panel and it looked awesome already. Now it was time to stick everything on there.


We used some electrical tape as guidelines and tried to be as accurate as possible (the Illustrator measurements came in handy here). The very thin stripes above the icons and below the numbers were very tricky as they were supposed to be merely 1.4mm thick but 38cm long. We opted to do 1.8mm to save us some frustration. We even tried 3mm before that, but it looked off, so we redid it.
Once the panel was done we stopped for the day, as it took quite long when you’re really thorough.


The frame was quite hard and took us multiple tries to get right. We didn’t take any photos of the groove cutting, as we need all our hands to get it straight. In the next step we had to cut the boards at an angle. The cutting was easy but getting the boards to the exact size was hard. In fact we didn’t quite made it, but the screws forced the wood somewhat to the desired shape.

Next up was painting. We bought some black paint at the hardware store and gave the whole frame two coats.
For the backlight we decided to go for LED stripes. We found an affordable 5m warm-white LED stripe at the same place we got the plexiglass panel from. It even came with a detachable light switch which was a plus. In hindsight a cold-white color would be more accurate, but I think as a nightlight or general light source a warmer color is more pleasant for the eyes.

I cut the LED stripes into 5 1m pieces and started to solder them back together again. This way we could achieve a more even lighting and we didn’t have to be concerned about folding the stripes.


The last thing to do was assembling everything carefully and adding two hooks on the top to hang it on the wall.
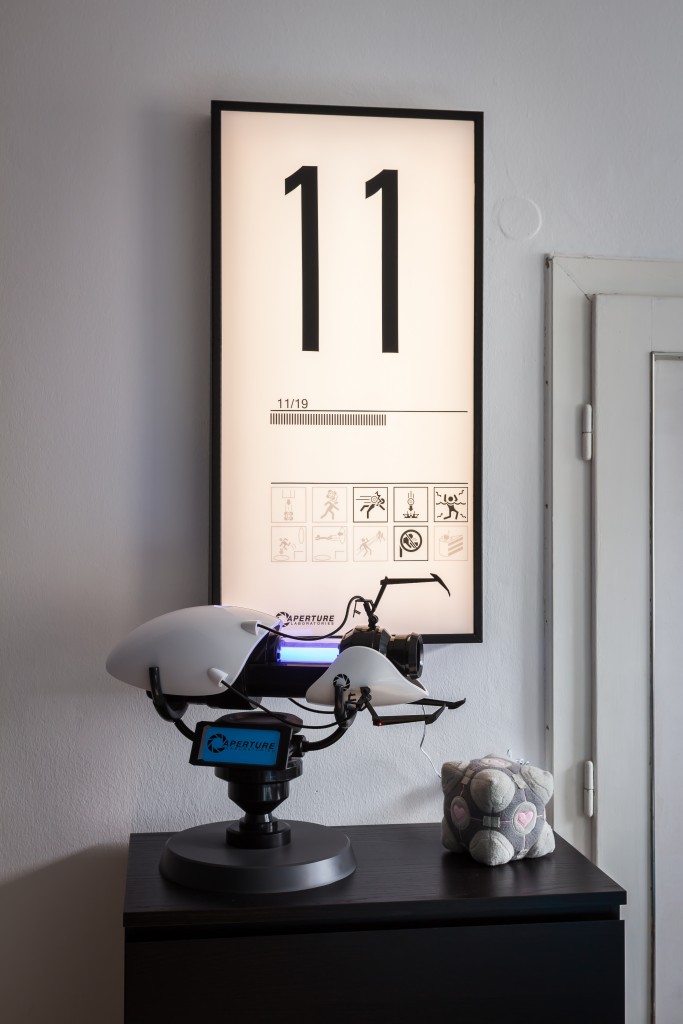
It was quite a lot of work, but It was totally worth it. We were afraid the 5m LED stripes wouldn’t be enough to give it nice glow, but it was more than enough. It’s way brighter than I thought. It was to bright, that taking a photo of the whole Portal altar was challenging, because of the big difference in brightness.
And here are some more photos in the dark, lit only by our Portal Gun and the Test Chamber Sign itself.


